
How to Lift and Move a Greenhouse
Do you need to relocate your gardens greenhouse? Or have you purchased a secondhand one off the likes of Ebay or maybe Meta / Facebook?
Lifting and moving a greenhouse, especially a large one, or one fitted with glass panes as opposed to plastic ones can seem like a daunting task, but with proper planning, the right tools, lifting and moving equipment, and the correct technique, the job can be carried out quite easily.

Here we will go through step-by-step on how to lift and move a greenhouse, including the equipment needed, techniques, safety considerations, and some helpful tips as well.
1. Assessing the Greenhouse
Before you begin the lifting or moving process, it’s important to first assess the type and condition of the greenhouse you own. The process for moving a greenhouse will differ depending on whether it’s made from wood, metal, upvc, as well as its size and overall condition.
The weight of it needs to be assessed as well as how to move the glass or plastic window panes, can the door on it be removed to help, and how is is fastened down to the ground.
Are you thinking of moving assembled, or are you considering dismantling it? This latter is the case if you need to move it to another address away from your current home or allotment.
Useful Tip
Take Some Pictures Before You Start
A great tip is to take a few pictures before you start anything, maybe with your mobile phone or a digital camera. If you take several photo’s from different angles this will help you when it comes to re-assembling it.
Another tip if you are dismantling the greenhouse is to mark each structural support and cross pieces with a permanent marker pen, labeling them in a numerical order. Write these down on a notepad as you mark them, for example “left vertical front” “door frame” “sky-light opening” “rear horizontal bar” etc.
This might sound like a large job but it will save hours if later on you become stuck on which part of the green house goes where, whilst trying to re-build it.
Types of Greenhouses
Below we list the most popular types of greenhouses:
- Wooden Greenhouses: These tend to be of a reasonable weight and simple to dismantle. If the wood is old or decayed, it may though need repairs before moving.
- Aluminum or Steel Frame Greenhouses: Metal-framed greenhouses are more durable and rigid but can be heavier. These require careful disassembly to prevent damage to the frame. Be cautious of rusted fittings though, especially if screws and bolts have become corroded.
- PVC or Polycarbonate Greenhouses: These are typically easier to transport because they are lighter than other types and often come with modular panels that are easy to disassemble.
Once you’ve identified the type of structure the green house is made from, take note of the number of panels, the frame sections, and any glass or polycarbonate / plastic components. Make sure to inspect for damages that may need repair before the greenhouse is moved or attempted to be lifted.
2. Prepare for the Move
2.1 Plan the New Location
Choosing the right spot or place for the greenhouse is essential before you even start the moving process. Consider the following when choosing a new location:
- Sunlight Exposure: Ensure the new location gets plenty of sunlight throughout the day. Greenhouses rely on sunlight for heating and for growing plants. This applies to flowers as well as vegetables.
- Accessibility: Make sure the new site is easily accessible for future maintenance and transportation of the greenhouse. Take into account any overhead obstacles or narrow paths / drive-ways.
- Ground Level: The site should be level to avoid any structural stress or uneven settling of the greenhouse.
- Protection from Wind: Avoid where possible placing the greenhouse in areas with high wind exposure, unless it is reinforced and anchored-down for such conditions.
2.2 Gather the Necessary Tools and Equipment
To safely move your greenhouse, you’ll need a range of basic tools and materials. Here’s a list of common tools you may need for the job:
- Screwdrivers or a battery drill / driver / power drill: For removing fasteners, bolts, or screws.
- Wrenches or a socket set: For loosening nuts and bolts on metal frames.
- Hammer and rubber mallet: For gently tapping parts apart without causing damage.
- Pliers: For gripping and pulling on fasteners or wires.
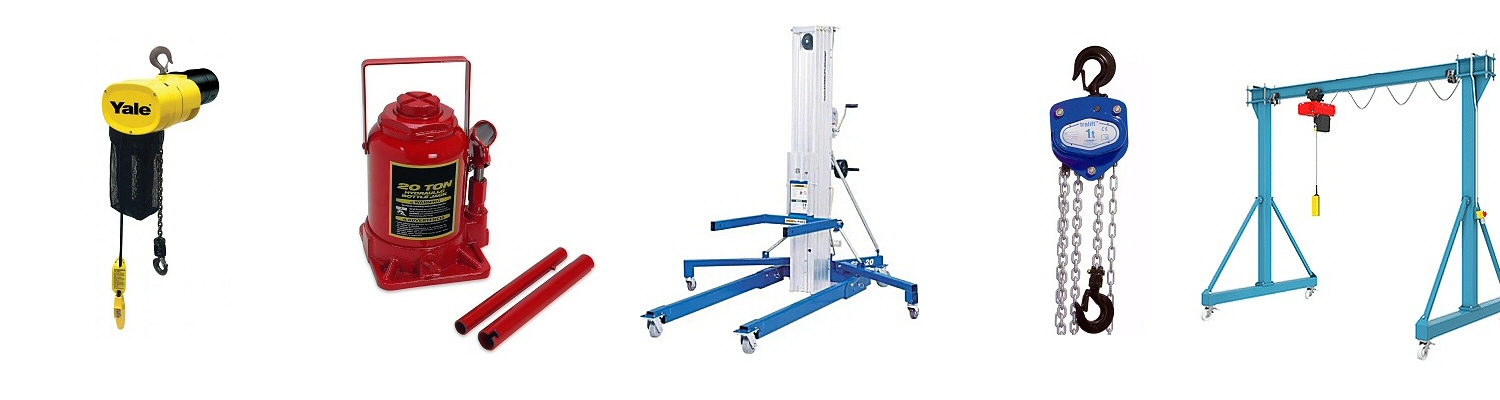
- Lifting straps / Web slings: For general lifting and moving large parts.
- Dolly or wheeled cart / trolley: For transporting smaller parts of the greenhouse (when disassembled).
- Moving blankets: To protect glass panels (if fitted) and delicate parts during the move.
- Tarp or heavy plastic sheeting: To cover the greenhouse and keep it dry if you’re moving it on a rainy day.
- Shovel or digging tools: If you need to level the new site or remove any obstructions.
2.3 Gather Assistance
Moving a greenhouse is typically not a one-person job, especially if it is large or heavy. Enlist help from friends, family, or hire professional movers if necessary. Depending on the size and weight of your greenhouse, you may need several people to help lift and carry the parts.
3. Disassemble the Greenhouse
Disassembling a greenhouse is an important step, as this reduces the risk of damaging any components and makes it far easier to move. The steps involved will vary depending on the construction material of your individual greenhouse, but here is a general guide for carrying this out.
3.1 Remove Any Existing Plants and Equipment
Before beginning the disassembly, remove all plants, plant-pots, gardening tools or anything that is stored inside. This will lighten the structure and ensure nothing is damaged during the move.
3.2 Remove Glass or Polycarbonate Panels (The Glazing).
Its now time to remove the glass or polycarbonate panels. These may be fragile and should be handled with care.
For glass panels, wear heavy-duty gloves and wear safety glasses in-case of any breakages.
Use moving blankets to wrap them up for protection. For polycarbonate panels, simply remove them by unscrewing the fasteners, retaining clips, or unhooking them from the frame.
3.3 Disconnect the Frames Components
Most greenhouses have individual frame sections that are connected by bolts or screws. Use the appropriate tools to remove the fasteners and carefully disassemble the frame into small manageable pieces. For metal-framed greenhouses, ensure you keep all the screws, bolts, wire retainers, and nuts in a labeled container for easy reassembly later.
Any rusted fittings will need to be either drilled or ground away, by use of a power drill or small angle grinder, again where suitable ppe when using these tools.
3.4 Take Apart Doors and Windows
The doors and any openable windows in your greenhouse will need to be removed next. These may be attached with hinges, nuts and bolts, or screws, and they should be handled carefully to avoid breaking glass.
3.5 Sort the Components
As you disassemble the greenhouse, it’s helpful to organize the parts. Sort the screws, bolts, panels, other fixings, and frame sections into separate piles or containers. This will make reassembly much easier when you reach the new location.
4. Transporting the Greenhouse Parts
Once your greenhouse is broken-down into manageable parts, you can begin the transportation process. Depending on the size of your greenhouse and the distance you need to move it, there are different options for transporting the parts to the new location.
4.1 Using a Trailer or a Flatbed Truck
For larger greenhouses, especially those with metal frames and heavy glass, using a flatbed truck or a trailer is the most efficient way to transport the components. Load the frame sections, panels, and any other large parts onto the trailer. Ensure that they are securely tied down with ratchet straps to prevent shifting during transport.
Use straps or ropes to hold everything in place, and cover any fragile panels with blankets or tarps to protect them from bumps during the transportation and weather.
4.2 Using a Dolly or Wheelbarrow for Smaller Parts
If you only need to move a small greenhouse or a few parts, a dolly or a wheelbarrow may be sufficient for transportation. Stack the frame pieces and glass or polycarbonate panels on the dolly, and slowly wheel them to the new site. Ensure that all fragile parts are padded with moving blankets to prevent breakage.
4.3 Hand Carrying (For Smaller Greenhouses)
For very small greenhouses, it might be possible to carry the components by hand, especially if you have help. Carry one frame piece at a time, and take extra care with glass or polycarbonate panels to prevent any accidental breakage. Modern inexpensive plastic covered greenhouses can be carried easily in this way.
5. Reassembling the Greenhouse at the New Location
Once you’ve arrived at the new location (maybe an allotment or your own garden) and cleared the site, you can begin the reassembly process. The steps for reassembly are generally the reverse of disassembly, but there are a few things to keep in mind for a smooth set-up.
5.1 Assemble the Frame and Structural Sections
Start by putting together the frame. Use the same screws, bolts, wire retaining clips, or fasteners you saved during the disassembly process. Make sure each joint is tightly secured, as any loose sections could compromise the overall stability of the greenhouse. For larger metal-framed greenhouses, it may be helpful to have someone assist in holding the frame in place while you secure the bolts.
For greenhouses with a large height roof, a sturdy step ladder will be a useful addition too.
5.2 Install the Panels (Glazing)
Next, install the glass or polycarbonate glazing panels. For polycarbonate greenhouses, simply slide / clip the panels into place and secure them with the appropriate fasteners. Glass panels should be carefully inserted into the frame, ensuring they are well supported, and secured to avoid any risk of shattering.
5.3 Reattach the Doors and Windows / Skylights
Once the glazing panels are in place, reinstall any doors or windows, making sure they are correctly aligned and functioning properly. Check that the doors open and close smoothly, and that any ventilation windows are securely attached. Lubricate any hinges or sliding channels with a suitable spray lubricant, we recommend a silicone spray such as GT85 for this.
5.4 Secure the greenhouse to the site
Where deemed necessary, use ground fixings to secure the greenhouse to the ground. Various types of fixings can be purchased, with some specially rated for securing greenhouses.
Finally, you can reconnect any electricity or water systems, such as grow lights, water irrigation systems, greenhouse heaters, or fans, if applicable.